Our promise to you

Since 2010, our promise has been simple: We’ll give you an honest assessment, communicate clearly, and treat your home like it’s our own. You can count on us to give you the facts you need to make the right choice for your home and budget, whether that means repairing or replacing your roof.

Your new roof in 10 steps

Here’s everything you can expect when you trust Stonewater with your roofing project.

1. Contact Stonewater

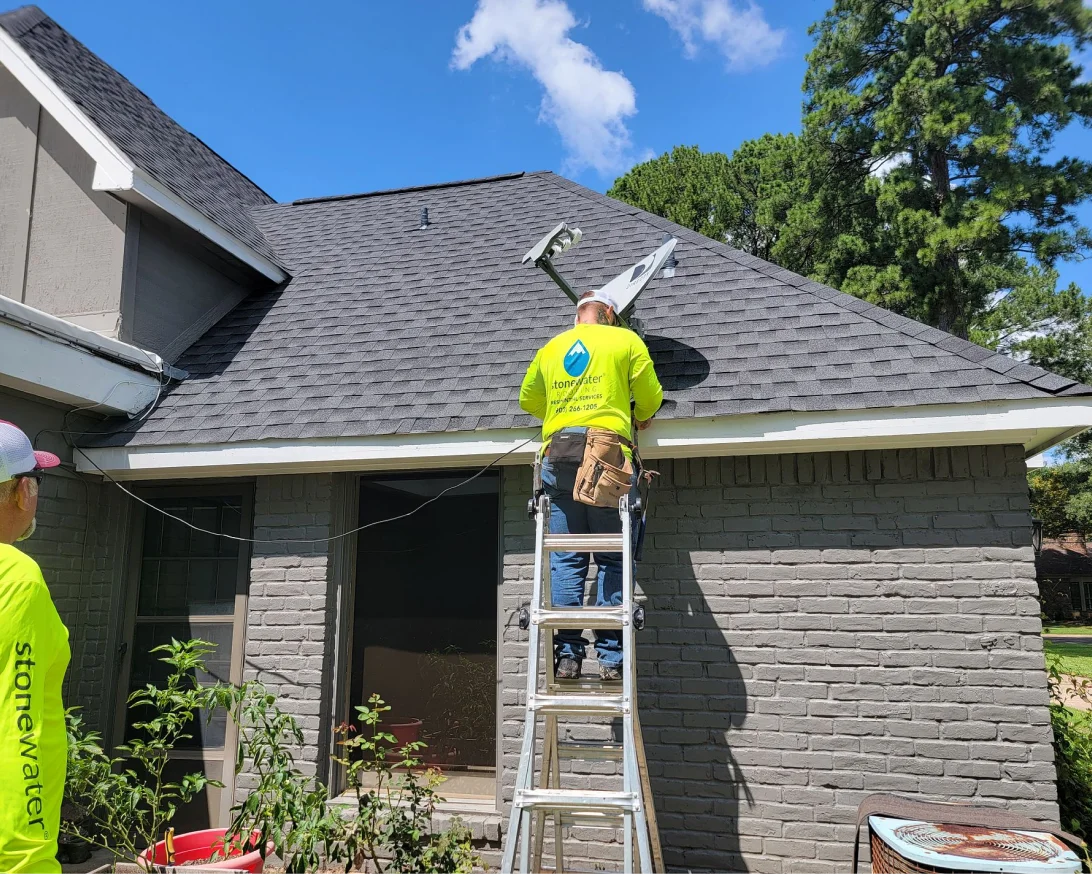
Reach out by phone or through our website, and we’ll schedule a time to inspect your property. One important note before we arrive: Please do not climb onto your roof yourself. Our team has the training and equipment to inspect it safely.

2. Free Inspection & Contract

Our inspection typically takes about 15 minutes. We check your roof, gutters, fence, windows, and anything else that may have storm damage, and we take photos to document what we find. If your roof qualifies, we’ll go over the agreement to hire Stonewater right then, so there’s no need to schedule a separate visit. The contract protects you, makes sure everything is done the right way, and includes an initial estimate for the work.

3. File Your Insurance Claim

We give you all the information you need to file a claim with your insurance company. From there, your insurance company will schedule a time for their adjuster to complete an inspection of their own.

4. The Adjuster’s Meeting

This meeting determines whether insurance will help pay for your roof, and you’ll receive a written report from the adjuster. Generally, we’ll be present for this meeting. The adjuster works for your insurance company, but we work for you, and we can help you understand the report and make sure nothing gets missed.

Please note: We are a licensed roofing contractor, not a Public Insurance Adjuster. We do not negotiate, adjust, settle, or effect insurance settlements on your behalf. Any discussions with your insurer are limited solely to the scope and pricing of our roofing work, and you retain sole authority and responsibility for all decisions regarding your insurance claim.

5. First Insurance Check

The payment process happens in three parts, and this is the first. Your insurance company sends you an initial check, which you then pay to us. This check covers the replacement cost of your roof minus your depreciation and your deductible.

6. Material Selection & Scheduling

Choose your shingle color and style, along with any upgrades and warranty options. We bring samples to make the decision easy. At this stage, you’ll also pay your deductible, which is the portion of the project you cover yourself. Any upgrades or items not covered by insurance are paid alongside the deductible, and if you need flexibility, you can ask us about financing options. Once your materials are selected and ordered, we schedule your installation date, so you’ll know exactly when your project starts, and we’ll keep you updated leading up to installation day.

7. Before Construction

Materials arrive the business day before installation. For example, if your project is scheduled for a Monday, your materials arrive Friday. Deliveries are typically dropped in the driveway, so please make sure vehicles are moved beforehand, and let us know if there’s a specific spot where you would like the materials placed. A little preparation also goes a long way toward protecting your home and belongings. We provide every customer with a complete Homeowner’s Checklist covering what to do before, during, and after construction. You’ll find the full checklist further down this page, along with a printable version you can download and keep for your records.

8. Installation Day

Most homes are finished in a single day, though larger or more complex homes may take longer. Crews arrive around daybreak and will work until dark if needed. Here’s what to know:

  • Crews will need access to water and electricity
  • Our project manager oversees the crew and is always available if you need anything
  • If you go outside, watch for nails, debris, and objects falling from the roof
  • Before leaving, crews clean up your property and run a magnetic nail bar throughout the yard
  • When the work is done, our project manager walks the property with you as a final check
  • Feel free to ask questions along the way

9. After Construction

Once the crew is gone, a few quick checks will help wrap things up:

  • Keep an eye out for any nails that may have been overlooked
  • Make sure all gates are closed before letting pets back outside
  • Check furnace and hot water vents, since connections may have come loose
  • Leave permits up until the city completes its final inspection, if applicable

10. Final Payment

After all work is done, your insurance company releases the final portion of your claim, often called recoverable depreciation. This final check completes the three-part payment process, and your project is officially done.

Your homeowner’s checklist

Use this checklist to prepare your home and keep everyone safe from the day before installation through the final cleanup.

Before Construction

  • Do not run sprinklers the night before or at any point during construction
  • Disarm your security alarm, since vibrations may activate it
  • Remove wall hangings and breakable objects from shelves
  • Cover objects in the attic and in the garage if there is no ceiling
  • Park vehicles away from the house
  • Confine pets indoors or restrain them away from the home
  • Move outdoor potted plants indoors
  • Move outdoor furniture to the middle of the lawn

During Construction

  • Provide the roofing crew with access to water and electricity
  • Walk carefully and watch for debris and nails
  • Do not drive on the driveway
  • Use extreme caution when entering or leaving your home, since debris and other objects may fall from the roof

After Construction

  • Keep an eye out for any nails that may have been overlooked
  • Make sure all gates are closed before letting pets back outside
  • Check furnace and hot water vents, since connections may have come loose
  • Leave permits up until the city completes its final inspection, if applicable

We’re still around
after the job

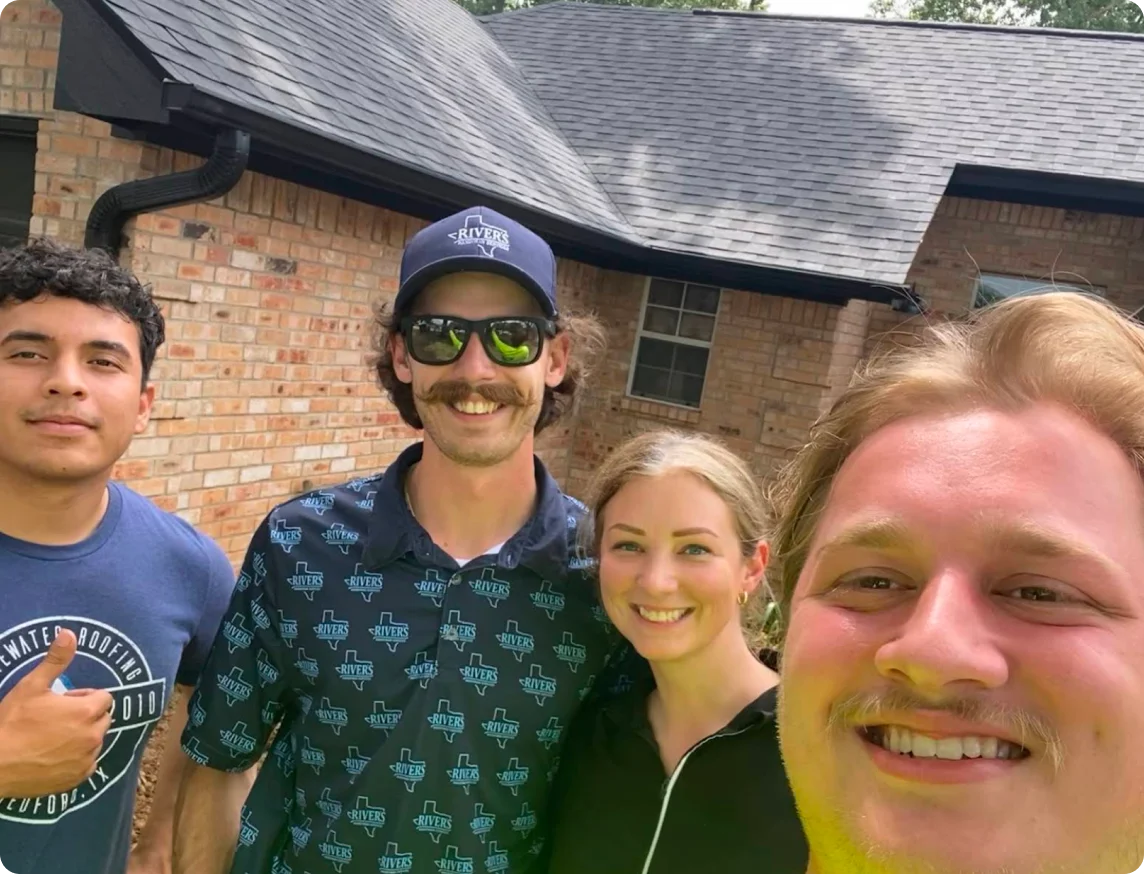
We don’t stop supporting you after the last shingle. Your new roof is backed by both the manufacturer’s warranty and our workmanship warranty. Plus, we’re just a phone call away if you ever have a question or concern. Just see what our customers say about their experiences!

Selfie with customers after a build

FAQs

Can you just waive my deductible?

No, and any company that offers to do this is breaking the law. Waiving a deductible is considered insurance fraud, and it can get both the contractor and the homeowner into serious trouble. Some companies may call it a sale or a coupon, but no matter how it’s phrased, it’s illegal to not pay your deductible. It also usually means the roofer is cutting corners with cheap materials or inflating prices to make up the difference.

Will I get in trouble for not paying my deductible?

You could. Some homeowners commit this type of insurance fraud without realizing it is illegal, but that does not protect you if a claim is ever investigated. Roof claims are usually large, which means the penalties can be serious. Paying your deductible is the safe and legal way to handle your claim.

Can I see hail damage from the ground?

You can see some of it, but not all of it. Look for holes in window screens, dotting on your fence, or dings in your garage door and gutters. These are all possible signs of hail damage. Roof damage, however, needs to be assessed up close. Please do not climb onto your roof yourself. Our team has the training and tools to perform a full assessment safely.

What does a hail hit look like on a roof?

Hail hits on shingles look like bruises or dark spots where the protective granules have been knocked away, exposing the underlayment or fiberglass mat beneath. Fresh hail hits often look shiny because the exposed area has not had time to weather and dull in color.

How long does a roof replacement take?

Most homes are finished in a single day. Larger or more complex roofs may take longer, but your project manager will give you a clear timeline before work begins and keep you updated throughout.

Do I need to be home during installation?

You do not need to be home the entire day, but our crews will need access to water and electricity, and our project manager will want to walk the property with you once the work is complete. If you do step outside during installation, watch for nails, debris, and objects falling from the roof.

Should I get bids from multiple companies?

With an insurance claim, roof replacement does not work like a typical bidding process. Your insurance company sets the amount they will pay based on the adjuster’s report, so the price is largely determined by your claim rather than by competing bids. What matters most is choosing a contractor you trust to do the work right, communicate clearly, and stand behind the finished roof.

Do you handle my insurance claim or act as my public adjuster?

No. We are a roofing contractor, not a Public Insurance Adjuster, and we do not provide public insurance adjusting services. We don’t negotiate or settle claims on your behalf. Our role is limited to performing roofing work, preparing itemized cost estimates, and providing documentation of damage for your own use. You retain full control over all insurance claim decisions, and you’re always welcome to retain a licensed public adjuster or attorney if you’d like assistance with the claims process.

Ready to transform your roof?

Whether you’re in need of roof repairs, considering installations, or just want to explore your options, Stonewater Roofing is here to help. Contact us today for a free roof inspection and kickstart your journey toward a stronger, more reliable roof.